Learn to replace a pressed wheel bearing in a Ford, specifically a 95 Ford Windstar, but this method will be similar for all pressed bearing vehicles.
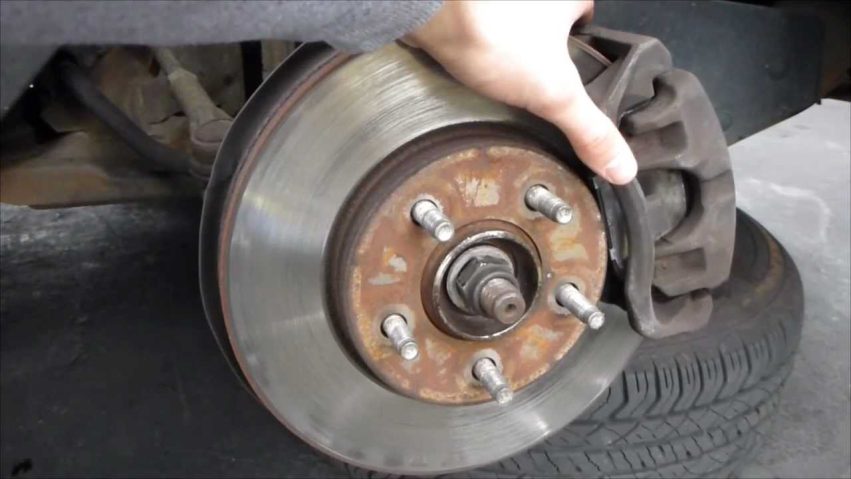
The main steps are to take off the spindle nut, tire, brake caliper, and rotor. Then remove the bolts from the lower control arm ball joint, tie rod, and strut. Remove the steering knuckle, then press out the bearing and hub/spindle. Then press in your new bearing and hub/spindle. This job is a little more complex but can still be easily done by any amateur mechanic. You will save $400-1000 depending on your vehicle.
Here is how to Replace a Hub Bearing Assembly (rear wheel drive): https://www.youtube.com/watch?v=04AyCYIUEWQ
Here is how to Replace a Hub Bearing Assembly (front wheel drive): https://www.youtube.com/watch?v=fe_WtKIKlYA
Bearing Press Tool: http://www.amazon.com/gp/product/B00AZABHLQ/ref=as_li_tl?ie=UTF8&camp=1789&creative=390957&creativeASIN=B00AZABHLQ&linkCode=as2&tag=chri0e2-20&linkId=EIBAN5P55H2K2M5C
**If the video was helpful, remember to give it a “thumbs up” and consider subscribing. New videos every Thursday**
-Website: https://www.ChrisFixed.com
-Facebook: https://www.facebook.com/chrisfix8
-Twitter: https://twitter.com/ChrisFixed
-Instagram: https://instagram.com/chrisfixit
-Subscribe Here: http://www.youtube.com/subscription_center?add_user=paintballoo7
-YouTube Channel: https://www.youtube.com/ChrisFix
Disclaimer:
Due to factors beyond the control of ChrisFix, I cannot guarantee against improper use or unauthorized modifications of this information. ChrisFix assumes no liability for property damage or injury incurred as a result of any of the information contained in this video. Use this information at your own risk. ChrisFix recommends safe practices when working on vehicles and or with tools seen or implied in this video. Due to factors beyond the control of ChrisFix, no information contained in this video shall create any expressed or implied warranty or guarantee of any particular result. Any injury, damage, or loss that may result from improper use of these tools, equipment, or from the information contained in this video is the sole responsibility of the user and not ChrisFix.













Thanks for the awesome video! Where do you find all of your torque specs for all the vehicles you work on? I always have trouble finding them.
Why didn't you use the socket for the hub nut on the bearing press ?
Old school videos from the early years are great bro! when is the next new video coming out? How is the new house coming along and the new garage? Are we going to get a tour of the garage?
Chris, thank you. You have truly shown me how to change out wheel bearing breaks, rotors…etc. you have touched many lives, including mine.
Haha randomly came across this. 10 years ago! Chris Fix has come a long way.
Wow these old videos are ridiculous. He has zero enthusiasm or excitement in his voice
my lower control arm would not budge with pry bar any suggestions
You should try use all data it help how to replace or fixed it an great tool to use but it expensive
I'm getting my first car soon and I figured I'd look into learning a thing or two about car maintenance. You've got answers to questions I haven't even thought to ask yet. Thank you.
Excellent video Thanks! !
👍
I have this on my mazda 2, sounds like a washing machine.
Damn! Chris Fix using a scissor jack over here! Yeah I knew there was a c in scissor, no big deal.
That's a lot of you're comments Chrisfix but great video I do wish I could be you're friend
4:18 😎
Can you do this witbout removing tbe entire knuckle??
the best video to learn how to do the right replacement part , i was not confident to do it checking others videos but this is so good with all the specifications in torque for each bolt !! perfect !
after so may years still useful! good job
Your face is in the video lol
For anyone coming to this video in 2023 or later: Don't do like me, support the entire back-side of the bearing when pressing the hub in 😛 I used the wrong plate and the inner part of the bearing broke free and pressed out the backside, then when pulling the hub out the front broke off (super cheaply made part according to reviews, but still super annoying)
if you use the lightly hammer technic and hammer it wholly in will it coause damage, cause i dont have the tool and still have to replace every 2nd year it seems.
You can change that bearing very while still hooked up to the rest of the car. While Well it's still hooked up to the strut. While it's still hooked up to the lower ball joint
How to replace a wheel bearing on the rear on a volvo 940 1993 estate petrol
I Just realized that in this video we can see a very good portion of your face.
My favourite part about watching older ChrisFix videos is how he always ended his videos by abruptly cutting himself off before he finished his outro 😆
Svaka cast majstore
No wheel nut dimple to lock the nut?
First time I did one I learned the hard way I used a shop press and bent the whole knuckle where the caliper bracket goes while pressing… but gotta learn somehow I wasn't careful with the knuckle ..
Bro I literally couldn't press out my bearing or press the new one in idk how to you did it by yourself in the grass like it was nothing I had to bang it out and bang it back in and it came out perfect guess alls you need is a good hammer lol
Do you replace both or just the bad one?
you forgot the hey guys part
Hi Chris im a big fan
Chris how old is this video ?
Watch all your wheel bearing changes that you have on YouTube got to say 10/10 helped me out a ton
In all the years of being a fan of your videos.I actually get to see partially your face.
Another great video and I finally got to see your face cause you never show your face on your other videos or when you do interviews. Thanks alot for all you do bro.
You guys leave parts out of your vids. The lower control arm is not as easy as you make it out to be. Mine will not lower out of knuckle, chain or not. Do you have other things removed also? Like the steering joint? Stabilizer brackets? Etc? I have even jacked coil spring up and its just worse. Unreal. What a friggin job just for bearing.
One day this dude gon have a company like ifixit selling everyday tools and specific use tools man…
I have learnt a lot from you Chris even though your videos are so many years old. I never stopped watching them since I became a mechanic. Thanks a lot ChrisFix
Love seeing the evolution of your videos. Keep it up.